Green Snake Breadsticks Recipe Halloween Harry Potter
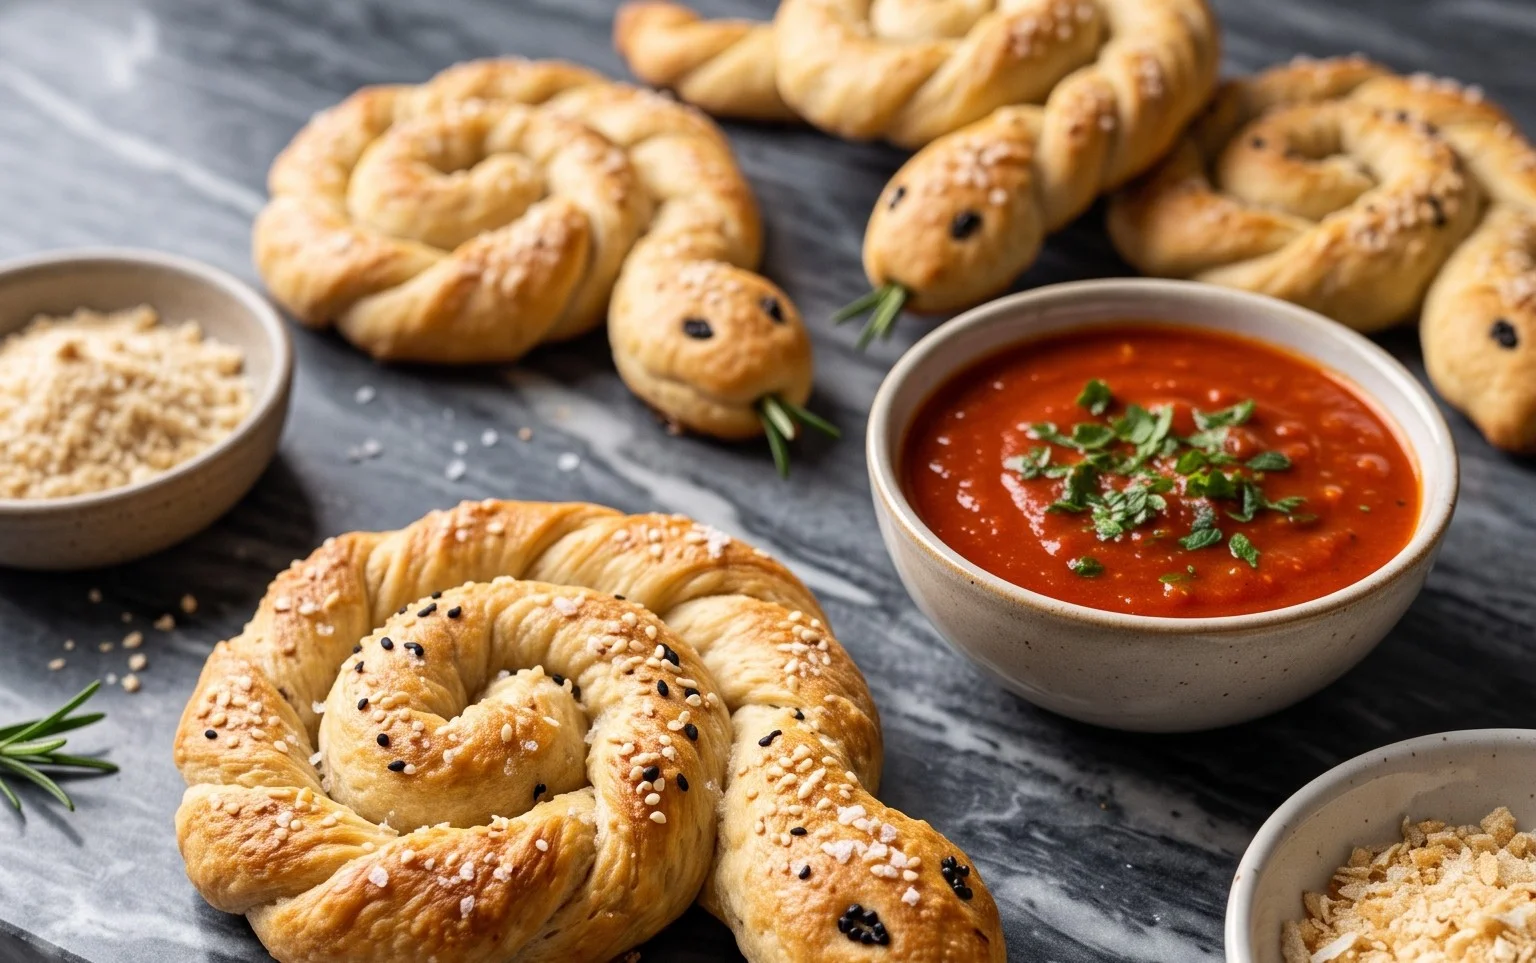
Snake Breadsticks are a fantastic project for kids and look incredibly striking on any party table, whether for Halloween or a Harry Potter feast. Their subtle, savory flavor makes them a hit even with picky eaters, and the bright green color is so fun. What makes these special is how easy they are to shape into realistic snakes. The combination of soft, slightly chewy bread with the tiny olive eyes and pepper tongue really brings these edible serpents to life. They’re not just a novelty; they’re genuinely tasty. This recipe is straightforward, so even if you’re new to bread making, you’ll have no trouble. The dough is simple to handle, and the coloring process is part of the fun.
Making the Dough
Start by activating your yeast. In a small bowl, combine the 5 grams of dried active yeast with the 170 ml of warm water. The water should feel pleasantly warm, like a bath for a baby, not hot, or you’ll kill the yeast. Give it a gentle stir and then let it sit for about 5 to 10 minutes. You’ll know the yeast is alive and ready when it starts to get a bit foamy and bubbly on the surface. If nothing happens after 10 minutes, your yeast might be past its best, so it’s best to start again with fresh yeast. While the yeast is waking up, get your dry ingredients ready. In a large mixing bowl, whisk together the 330 grams of plain flour and 1 tsp salt. This just ensures the salt is evenly distributed so it doesn’t all stick in one clump.
Ingredients:
- 5 grams (1 tsp) Dried Active Yeast (1x sachet)
- 170 ml (⅔ cup) Warm Water
- 4 tbsp Olive Oil
- 330 grams (2 ⅔ cup) Plain Flour
- 1 tsp Salt
- 2 Olives, chopped small (for the eyes)
- ⅓ Orange Pepper (bell pepper) (for the tongue)
- 6 drops Extra strong food colour gel (we used green)
- 3 tbsp water (to mix food colour with)
- 1 tbsp sesame or nigella seeds (optional)
These snake breadsticks are so much fun to make, especially with kids, and they look brilliant on a Halloween party table. They also have a lovely, subtly savory flavor that makes them perfect for a Harry Potter-themed feast, perhaps conjured as a treat for a Herbology lesson. The vivid green color makes them instantly eye-catching, and shaping them into snakes is surprisingly simple. The olives and pepper add little characterful touches that really bring them to life.
Making the Dough
Start by activating your yeast. In a small bowl, combine the 5 grams of dried active yeast with the 170 ml of warm water. The water should feel pleasantly warm, like a bath for a baby, not hot, or you’ll kill the yeast. Give it a gentle stir and then let it sit for about 5 to 10 minutes. You’ll know the yeast is alive and ready when it starts to get a bit foamy and bubbly on the surface. If nothing happens after 10 minutes, your yeast might be past its best, so it’s best to start again with fresh yeast.
While the yeast is waking up, get your dry ingredients ready. In a large mixing bowl, whisk together the 330 grams of plain flour and the 1 teaspoon of salt. Make sure the salt is evenly distributed through the flour. Once the yeast mixture is foamy, add the 4 tablespoons of olive oil to it.
Now, pour the yeast and oil mixture into the bowl with the flour and salt. Begin mixing everything together. You can use a wooden spoon or a spatula at first, but as it starts to come together, you’ll want to get your hands in there. Turn the dough out onto a lightly floured surface.
Kneading the Dough
Knead the dough for about 8 to 10 minutes. This means pushing it away from you with the heel of your hand, then folding it over, and pushing again. Keep doing this until the dough becomes smooth, elastic, and no longer sticky. If it feels too sticky, add a tiny bit more flour, just a teaspoon at a time. If it feels too dry and crumbly, add a tiny bit of water, also just a teaspoon. A well-kneaded dough is essential for light and airy breadsticks. You should be able to stretch a small piece of the dough quite thin without it tearing immediately.
Once the dough is nicely kneaded, shape it into a ball. Lightly oil the mixing bowl you used earlier, or get a clean one. Place the dough ball in the bowl, turn it over so the top is also lightly oiled, and then cover the bowl with a clean tea towel or cling film. Leave the dough to rise in a warm place for about 1 hour, or until it has doubled in size. This is called proving the dough, and it’s where the magic of the yeast creates those airy pockets that make bread so good.
Adding the Color and Shaping
After the dough has doubled, punch it down gently to release the air. Turn the dough out onto your work surface again. Now it’s time for the color. In a small bowl, mix the 6 drops of extra strong green food gel color with the 3 tablespoons of water. Stir until it’s fully combined. Pour this green liquid over the dough.
Work the color into the dough by kneading it gently. This might take a few minutes, and you’ll want to ensure the color is distributed evenly throughout. It’s important to use food gel color for this, as it’s highly concentrated and will give you that intense green hue without making the dough too wet. If you used liquid food coloring, you might need quite a lot, which could affect the dough’s texture. Once the dough is uniformly green, you’re ready to shape.
Divide the dough into several pieces, depending on how many snakes you want and how long you want them to be. For average-sized breadsticks, I usually get around 8-10 snakes from this amount of dough. Take one piece of dough and roll it out into a long, thin sausage shape, tapering one end to make a tail. For the head, you can make a slightly thicker end.
Creating the Features and Baking
To add the eyes, press the two chopped olives into the thicker end of each snake shape. For the tongue, take a small sliver of the orange bell pepper and carefully insert it into a small slit you make at the very front of the snake’s head. This little touch makes them look so much more alive and characterful. You can also lightly score some scales along the body with a knife if you feel artistic, but it’s not essential.
Place the shaped snake breadsticks onto a baking sheet lined with parchment paper. Leave a little space between them as they will expand slightly in the oven. If you’re using them, sprinkle the sesame or nigella seeds over the snakes now. For the sesame seeds, a light brush of water on the dough helps them stick.
Preheat your oven to 200°C (180°C fan/400°F/Gas Mark 6). Bake the snake breadsticks for 15-20 minutes, or until they are golden brown and sound hollow when tapped on the bottom. Keep an eye on them, as oven temperatures can vary. You want them cooked through and slightly crisp on the outside.
Serving and Storing
Once baked, remove them from the oven and let them cool on a wire rack for a few minutes. They are best served warm, but they are also delicious at room temperature. They make fantastic finger food for parties, and kids absolutely love them. You can serve them with a side of marinara sauce for dipping, or even a green cheese dip to continue the theme.
If you have any leftovers, and I often make a double batch because they disappear so quickly, they can be stored in an airtight container at room temperature for up to 2 days. To refresh them, you can pop them in a moderate oven for a few minutes until they are warm and slightly crisp again. Enjoy your slithery, delicious creations!
Conclusion:
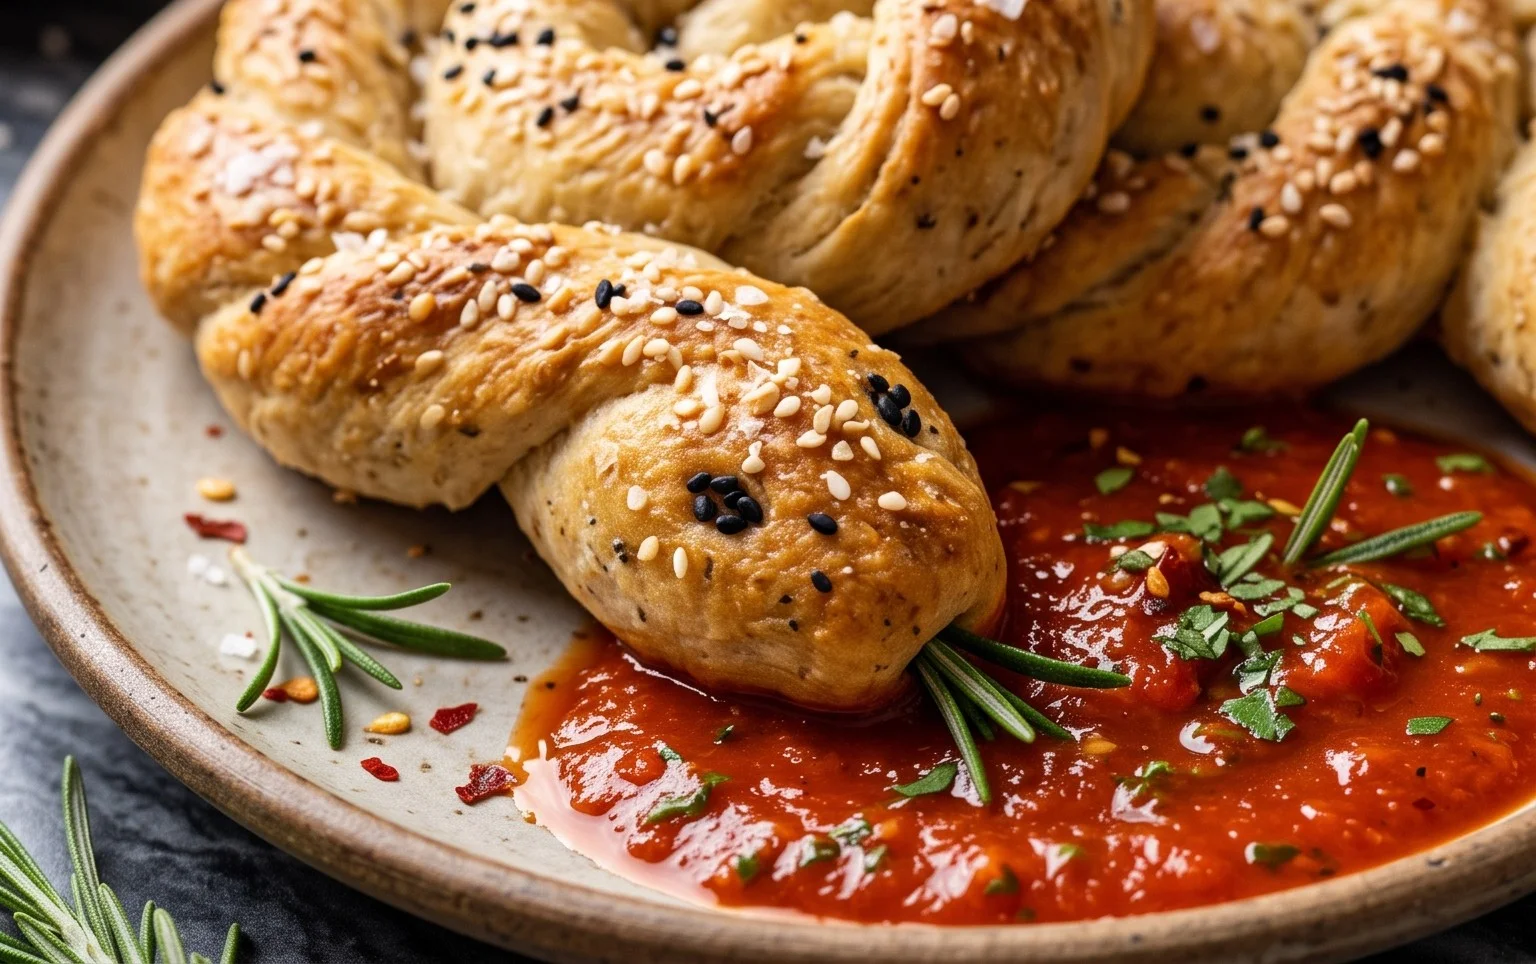
These Snake Breadsticks are a wonderfully fun and tasty addition to any party, especially themed ones for Halloween or Harry Potter fans. They are surprisingly simple to make, even with children involved, and the visual appeal is undeniable. The soft, slightly chewy texture of the bread combined with the simple savory flavor makes them a satisfying snack. You can serve them warm, fresh from the oven, or at room temperature, making them versatile for party planning. They are great on their own, or you could serve them with a side of marinara sauce for dipping, like a potion for your serpent snacks.
Variations and Serving
Feel free to get creative with the coloring! You could make red or orange snakes for a Halloween theme, or even multi-colored snakes. For a slightly different flavor, you could add a pinch of garlic powder or onion powder to the dry ingredients before mixing. If you don’t have olives for eyes, tiny pieces of black sesame seeds can work in a pinch. Remember, the food coloring gel is quite concentrated, so start with the recommended amount and add more if needed for a deeper green. For serving, arrange them coiled on a platter for maximum impact, perhaps with some plastic spiders or potion bottles nearby.
Frequently Asked Questions
Can I make these ahead of time?
Yes, you can make the dough balls and shape them, then cover them and refrigerate them for up to 24 hours before baking. Allow them to come to room temperature for about 30 minutes before baking, and you might need to add a couple of minutes to the baking time.
What if I don’t have green food coloring?
You can use any color you like! Red, orange, or even purple would be fun and thematic for Halloween. For a Harry Potter theme, other colors could work too, perhaps representing different magical creatures or house colors.
Are these breadsticks spicy?
No, these breadsticks are not spicy at all. They have a mild, savory flavor from the flour, salt, and olive oil. The food coloring is purely for visual effect and doesn’t add any taste.
Snake Breadsticks – Party Food Halloween or Harry Potter
Fun and spooky snake-shaped breadsticks, perfect for Halloween parties or a Harry Potter-themed gathering.
Ingredients
-
{‘@type’: ‘Ingredient’, ‘name’: ‘Dried Active Yeast’, ‘amount’: ‘5’, ‘unitCode’: ‘gram’, ‘name_en’: ‘Dried Active Yeast (1x sachet)’}
-
{‘@type’: ‘Ingredient’, ‘name’: ‘Warm Water’, ‘amount’: ‘170’, ‘unitCode’: ‘milliliter’, ‘name_en’: ‘Warm Water (⅔ cup)’}
-
{‘@type’: ‘Ingredient’, ‘name’: ‘Olive Oil’, ‘amount’: ‘4’, ‘unitCode’: ‘tablespoon’, ‘name_en’: ‘Olive Oil’}
-
{‘@type’: ‘Ingredient’, ‘name’: ‘Plain Flour’, ‘amount’: ‘330’, ‘unitCode’: ‘gram’, ‘name_en’: ‘Plain Flour (2 ⅔ cup)’}
-
{‘@type’: ‘Ingredient’, ‘name’: ‘Salt’, ‘amount’: ‘1’, ‘unitCode’: ‘teaspoon’, ‘name_en’: ‘Salt’}
-
{‘@type’: ‘Ingredient’, ‘name’: ‘Green Food Colour Gel’, ‘amount’: ‘6’, ‘unitCode’: ‘drops’, ‘name_en’: ‘Extra strong food colour gel (we used green)’}
-
{‘@type’: ‘Ingredient’, ‘name’: ‘Water’, ‘amount’: ‘3’, ‘unitCode’: ‘tablespoon’, ‘name_en’: ‘water (to mix food colour with)’}
-
{‘@type’: ‘Ingredient’, ‘name’: ‘Olives’, ‘amount’: ‘2’, ‘unitCode’: ‘whole’, ‘name_en’: ‘Olives, chopped small (for the eyes)’}
-
{‘@type’: ‘Ingredient’, ‘name’: ‘Orange Pepper’, ‘amount’: ‘1/3’, ‘unitCode’: ‘whole’, ‘name_en’: ‘Orange Pepper (bell pepper) (for the tongue)’}
-
{‘@type’: ‘Ingredient’, ‘name’: ‘Sesame or Nigella Seeds’, ‘amount’: ‘1’, ‘unitCode’: ‘tablespoon’, ‘name_en’: ‘sesame or nigella seeds (optional)’}
Instructions
-
Step 1
In a bowl, combine warm water and yeast. Let it sit for 5-10 minutes until frothy. -
Step 2
Add olive oil to the yeast mixture. In a separate bowl, mix flour and salt. Gradually add the wet ingredients to the dry ingredients and mix until a dough forms. Knead for 5-7 minutes until smooth. -
Step 3
Mix the food colouring gel with 3 tablespoons of water. Divide the dough into two portions. Knead the green food colouring mixture into one portion of the dough until evenly coloured. Form the other portion into a rough snake shape. -
Step 4
Roll out both dough portions into long ropes. Twist the green rope around the plain rope to create a marbled snake effect. Shape into snake bodies. -
Step 5
Place the snakes on a baking sheet lined with parchment paper. Use small pieces of chopped olive for eyes and a thin strip of orange pepper for the tongue. Sprinkle with seeds if desired. -
Step 6
Bake in a preheated oven at 200°C (400°F) for 12-15 minutes, or until golden brown and cooked through. Let cool slightly before serving.
Important Information
Nutrition Facts (Per Serving)
It is important to consider this information as approximate and not to use it as definitive health advice.
Allergy Information
Please check ingredients for potential allergens and consult a health professional if in doubt.