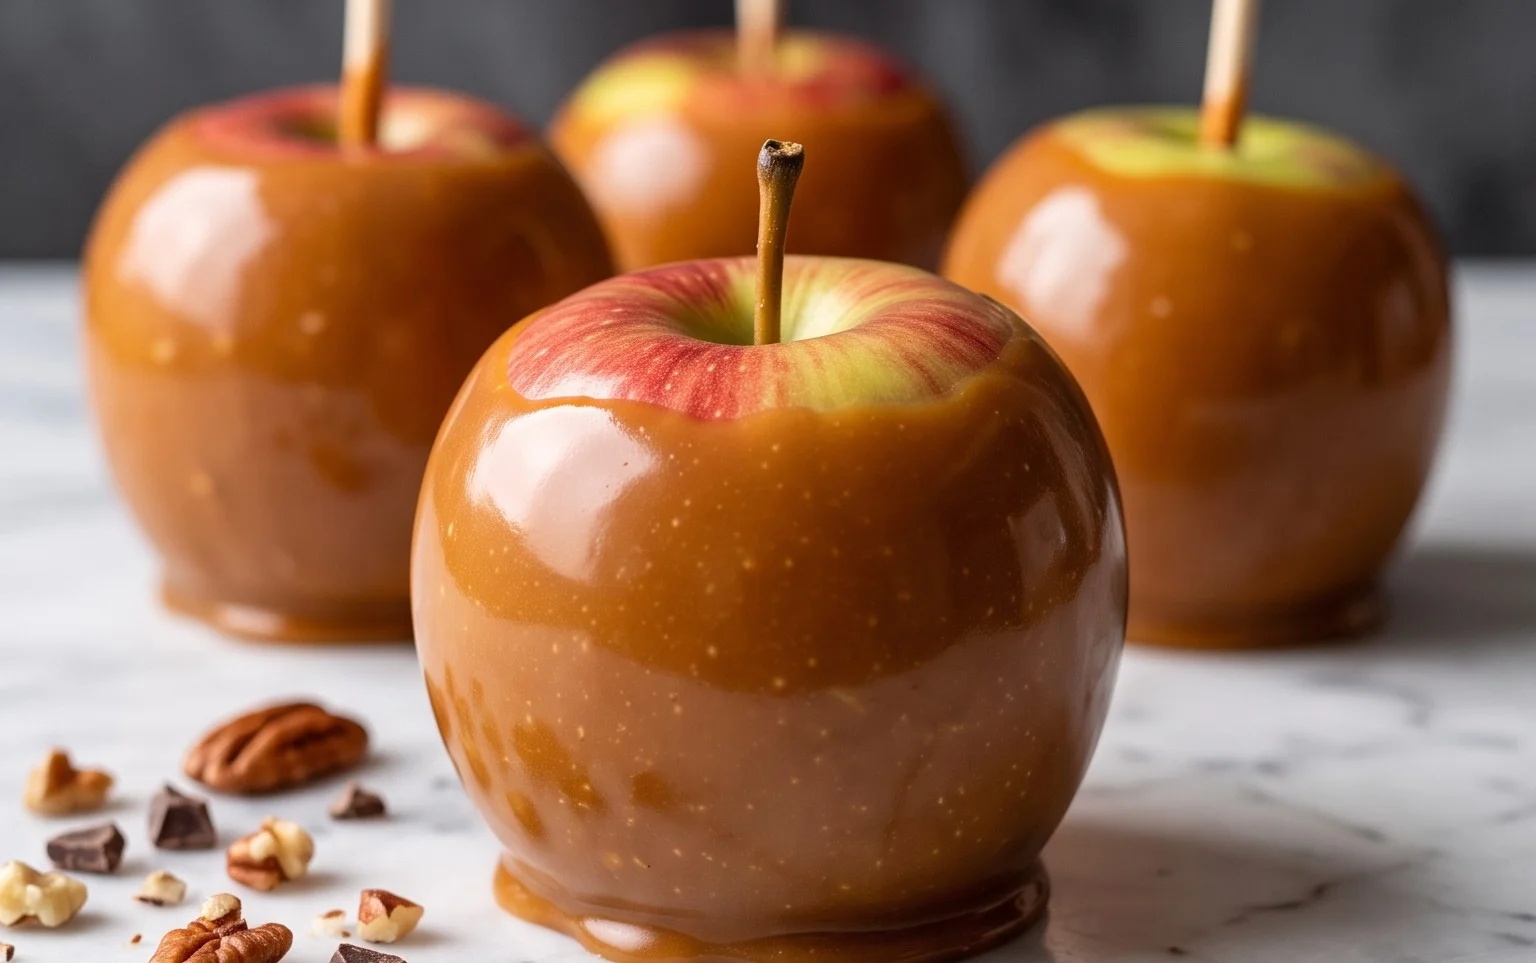
DIY Caramel Apples Bar Fun for Parties
DIY Caramel Apples Bar making is a straightforward way to bring a classic treat into your home, especially with all the fun toppings. This setup is perfect for any gathering, turning a simple dessert into an interactive activity. Kids and adults alike love picking their own apple and loading it up with goodies. We’re keeping things simple here with meltable caramels and easy dips. The most important thing is having everything prepped and ready so dipping and decorating goes smoothly. Apples: 8-10 medium Granny Smith or Honey Crisp apples. Granny Smith apples offer a tartness that balances the sweetness of the caramel perfectly. Honey Crisp apples are naturally sweet with a satisfying crunch. Dips: 2 bags (about 11 oz each) store-bought caramel bits or melting caramels, melted. 1 cup good quality white chocolate chips, melted. 1 cup milk chocolate chips, melted. 1 cup Reese’s Peanut Butter Cups (about 12-15 regular-sized cups), unwrapped and melted. Toppings: 1 cup Heath Toffee Bits 1 cup crushed pretzels 1 cup crushed pecans 1 cup mini marshmallows 1 cup mini M&Ms Optional: rainbow sprinkles, chopped peanuts, shredded coconut Supplies: 8-10 sturdy lollipop sticks or wooden skewers Parchment paper or wax paper Baking sheets Microwave-safe bowls or double boiler for melting Small bowls for toppings Spoons and spatulas Getting Started: The Prep Work The most important part of setting up a successful caramel apples bar is getting all your ingredients and supplies organized before your guests arrive.
DIY Caramel Apples Bar
Making caramel apples from scratch might sound a little intimidating, but setting up a DIY caramel apples bar is all about the fun and the toppings. It’s a fantastic activity for parties, holidays, or just a cozy night in. The magic really happens when everyone gets to customize their own sweet treat. We’re using simple, classic ingredients here that come together beautifully. The key is having everything prepped and ready so dipping and decorating is smooth sailing.
Ingredients:
- Apples: 8-10 medium Granny Smith or Honey Crisp apples. Granny Smith apples offer a tartness that balances the sweetness of the caramel perfectly. Honey Crisp apples are naturally sweet with a satisfying crunch.
- Dips:
- 2 bags (about 11 oz each) store-bought caramel bits or melting caramels, melted.
- 1 cup good quality white chocolate chips, melted.
- 1 cup milk chocolate chips, melted.
- 1 cup Reese’s Peanut Butter Cups (about 12-15 regular-sized cups), unwrapped and melted.
- Toppings:
- 1 cup Heath Toffee Bits
- 1 cup crushed pretzels
- 1 cup crushed pecans
- 1 cup mini marshmallows
- 1 cup mini M&Ms
- Optional: rainbow sprinkles, chopped peanuts, shredded coconut
- Supplies:
- 8-10 sturdy lollipop sticks or wooden skewers
- Parchment paper or wax paper
- Baking sheets
- Microwave-safe bowls or double boiler for melting
- Small bowls for toppings
- Spoons and spatulas
Getting Started: The Prep Work
The most important part of setting up a successful caramel apples bar is getting all your ingredients and supplies ready before you start melting anything. This ensures you can move quickly from dipping to decorating.
Preparing the Apples
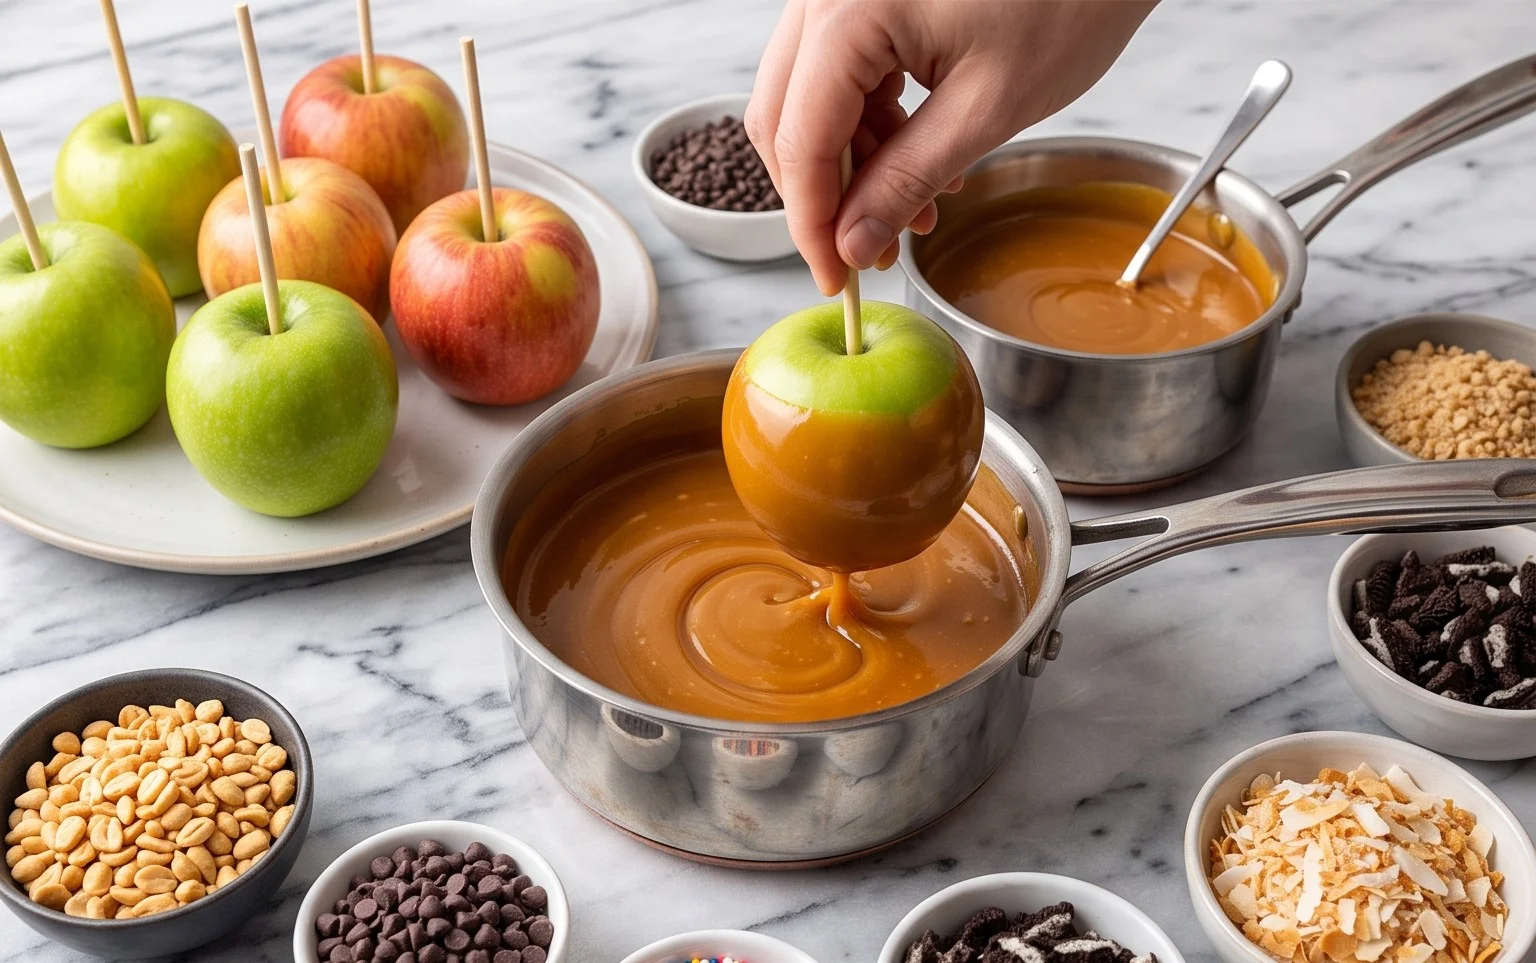
Wash your apples thoroughly under cool running water. Use a vegetable brush to remove any wax coating, which can prevent the caramel from sticking properly. Dry them completely with paper towels. Any moisture left on the apple will cause the caramel to slip off. Once dry, insert a sturdy lollipop stick or a wooden skewer firmly into the stem end of each apple. Push it in about halfway, making sure it’s secure enough to hold the weight of the apple when dipped.
Preparing the Toppings
This is where the fun really begins. Set out small bowls for each of your toppings. If you’re using Heath Toffee Bits, crushed pretzels, crushed pecans, or any nuts, make sure they are finely crushed. For pretzels, you can place them in a zip-top bag and crush them with a rolling pin or the bottom of a heavy pan. Similarly, if you’re using larger candies like M&Ms and want them to stick better to the caramel, you might want to give them a light crush as well, though mini M&Ms are usually fine as they are. Arrange all the topping bowls in an easily accessible line, perhaps near where you’ll be dipping the apples.
Melting the Dips
You have a few options for melting your dips. The easiest is usually the microwave. Place your caramel bits, chocolate chips, or chopped peanut butter cups in separate microwave-safe bowls. Heat in 30-second intervals, stirring well after each interval, until smooth and fully melted. Be careful not to overheat chocolate, as it can seize and become grainy. If you prefer, you can use a double boiler method, where you place the ingredients in a heatproof bowl over a pot of simmering water, ensuring the bottom of the bowl doesn’t touch the water. Stir constantly until smooth. You want your dips to be pourable but not too thin. If a dip seems too thick, you can add a tiny bit of vegetable oil or shortening (about 1 teaspoon at a time) and stir until smooth.
Assembling Your Caramel Apples
Now for the main event! It’s time to dip and decorate. Work with one dip at a time, and have your apples ready.
Step 1: Dipping in Caramel
Take one prepared apple and tilt the bowl of melted caramel. Dip the apple into the caramel, swirling it around to coat about two-thirds of the apple. Let any excess caramel drip back into the bowl for a few seconds. Don’t try to coat the entire apple; leaving some bare at the top makes it easier to hold and eat.
Step 2: Adding Initial Toppings
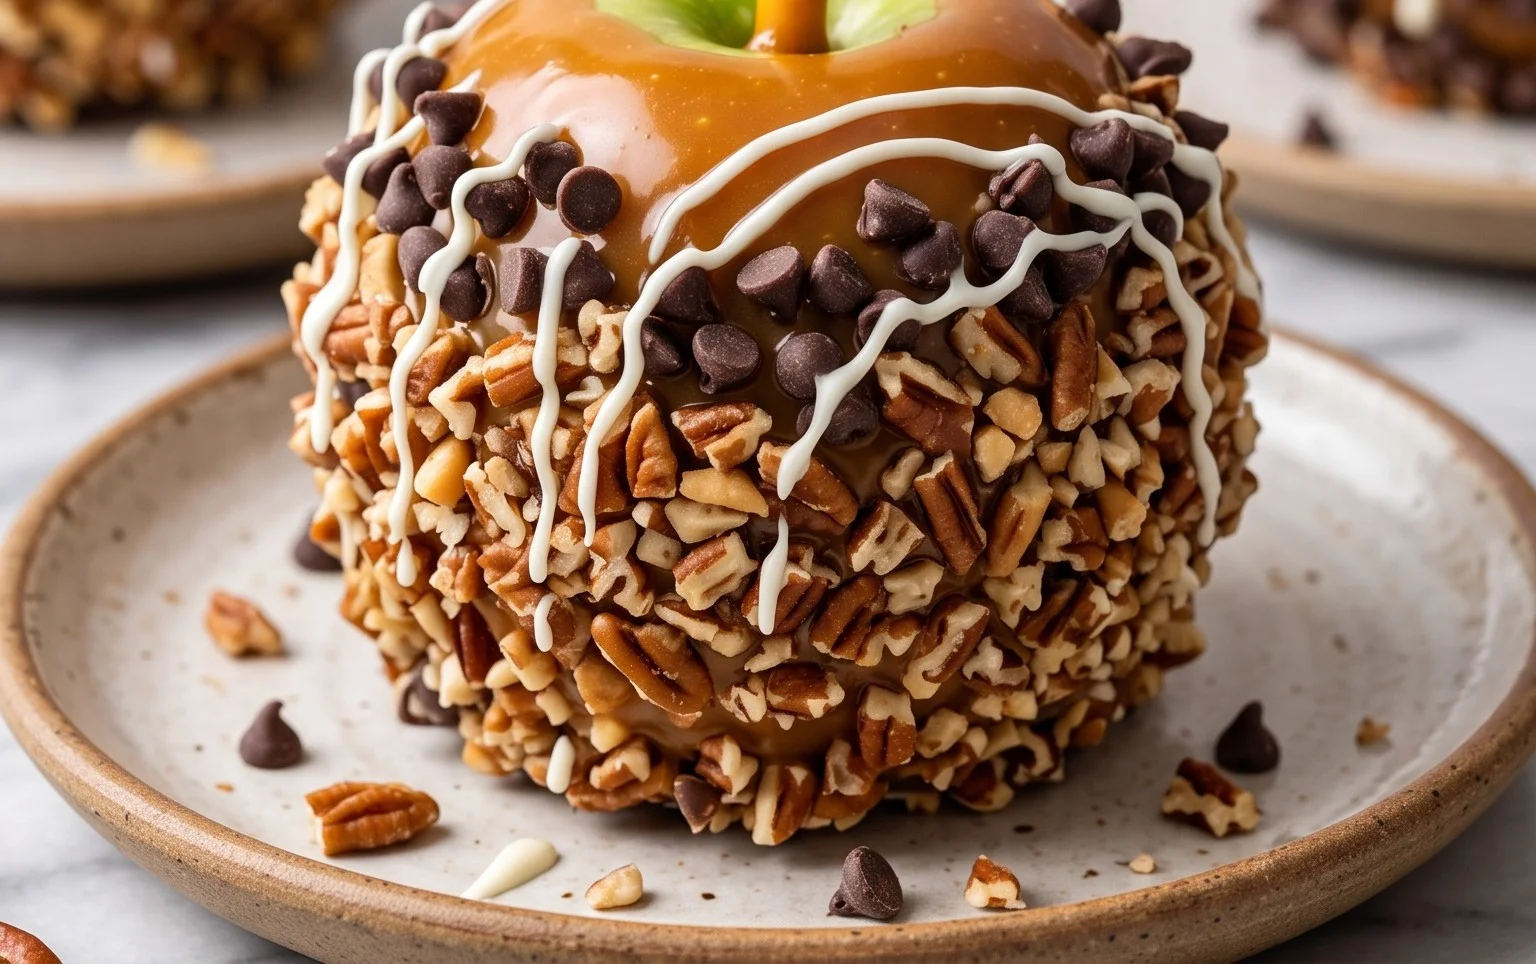
Immediately after dipping, while the caramel is still wet and sticky, roll or sprinkle the apple with your chosen toppings. For instance, you could roll the caramel-covered portion in Heath Toffee Bits or crushed pecans. Gently press the toppings onto the caramel to ensure they adhere well. You can do this in a designated topping bowl or sprinkle them directly from their serving bowls.
Step 3: Dipping in Other Flavors (Optional)
Once you have a caramel-coated apple with initial toppings, you can decide if you want to add another layer of flavor. For example, you could dip a caramel-and-pecan-covered apple into melted white chocolate, covering about half of the already coated area. This adds visual appeal and another flavor dimension. Again, let excess drip off.
Step 4: Adding More Toppings
After the second dip, or if you only did one dip, you can add another round of toppings. Perhaps you want to add some mini M&Ms or mini marshmallows to the white chocolate section, or sprinkle more pretzels onto the caramel. Get creative! You can create stripes or patterns with different toppings if you’re feeling artistic.
Step 5: Setting and Cooling
Once your apple is decorated to your liking, place it on a parchment-lined baking sheet. The parchment paper prevents the apples from sticking to the sheet as they set. Allow the apples to set at room temperature for at least 30 minutes, or place them in the refrigerator for about 15-20 minutes to speed up the process. They are ready to eat once the caramel and any additional dips have hardened.
Serving and Storing Your Creations
These caramel apples are best enjoyed the same day they are made, as the apples can become softer over time. If you have any leftovers, wrap them tightly in plastic wrap and store them in the refrigerator for up to 2 days. Be aware that condensation can form, which might slightly soften the toppings. For the best texture, let them sit at room temperature for about 10-15 minutes before enjoying. This DIY Caramel Apples Bar is a guaranteed hit and a wonderfully interactive way to enjoy a classic treat.
Conclusion:
Setting up a DIY Caramel Apples Bar is a really fun way to make a classic dessert interactive. It’s low-stress for the host and high-fun for everyone involved. Simply melt your caramels and chocolates, get your toppings ready, and let the creativity flow. This is more than just dessert; it’s an experience that creates delicious memories. You can easily adapt this for any season or theme by changing up the toppings. For a fall twist, try adding cinnamon sugar or chopped nuts. For a holiday party, think crushed candy canes or festive sprinkles. A DIY Caramel Apples Bar is always a hit for birthday parties, Halloween, or even just a cozy family movie night. Don’t be afraid to mix and match toppings; that’s where the real fun is!
Frequently Asked Questions
Can I make my own caramel sauce instead of using bits?
Absolutely. If you prefer homemade, you can use your favorite caramel sauce recipe. Just make sure it’s thick enough to coat the apple without being too runny. You might need to cool it slightly before dipping.
How do I prevent the caramel from sliding off the apple?
Make sure your apples are completely dry and at room temperature before dipping. Washing them and then patting them thoroughly dry with paper towels is key. The caramel adheres best to a dry surface.
What are some healthier topping options?
For a slightly healthier take, consider adding chopped almonds, unsweetened shredded coconut, or even a sprinkle of chia seeds. You can also offer a dark chocolate dip as an alternative to milk chocolate or white chocolate.
DIY Caramel Apples Bar
Create a fun and customizable caramel apple experience with a variety of dips and toppings.
Ingredients
-
12 Granny Smith apples
-
12 Honey Crisp apples
-
2 cups melted caramel candies
-
1 cup melted milk chocolate sauce
-
1 cup melted white chocolate sauce
-
1 cup melted Reese’s peanut butter cups
-
1/2 cup sprinkles
-
1/2 cup Heath toffee bits
-
1/2 cup crushed pretzels
-
1/2 cup crushed pecans
-
1/2 cup mini marshmallows
-
1/2 cup mini M&Ms
Instructions
-
Step 1
Wash and thoroughly dry the apples. Insert lollipop sticks or skewers into the stem end of each apple. -
Step 2
Melt the caramel candies in a microwave-safe bowl according to package directions, or melt on the stovetop in a double boiler. Stir until smooth. -
Step 3
Prepare your dipping sauces by melting the milk chocolate, white chocolate, and Reese’s peanut butter cups separately, following their respective melting instructions. -
Step 4
Dip each apple into the melted caramel, tilting to coat evenly. Allow excess caramel to drip off. If desired, dip partially into other sauces after the caramel has set slightly. -
Step 5
While the caramel is still warm and slightly tacky, roll or sprinkle the dipped apples with your chosen toppings: sprinkles, Heath toffee bits, crushed pretzels, crushed pecans, mini marshmallows, and mini M&Ms. -
Step 6
Place the decorated caramel apples on a baking sheet lined with parchment paper to set. Refrigerate for at least 15-20 minutes until firm before serving.
Important Information
Nutrition Facts (Per Serving)
It is important to consider this information as approximate and not to use it as definitive health advice.
Allergy Information
Please check ingredients for potential allergens and consult a health professional if in doubt.